I did not resigned, but since five months a nasty (and persistant) right thumb tendinitis prevents me to make any manual activity (and quite anything else as I’m right handed …).
Few days ago I completed a project, but since then I am again in a phase of forced inactivity ![]()
Anyway, for this project I needed an ellipse!

You need :
– a ruler,
– 2 pins,
– a piece of string,
– some paper
(Use the wrapping paper offered for free in some shops, it’s large paper width and is ideal to make patterns… ![]() ).
).

As we will pin up the paper, I suggest you to use a mattress as a table.
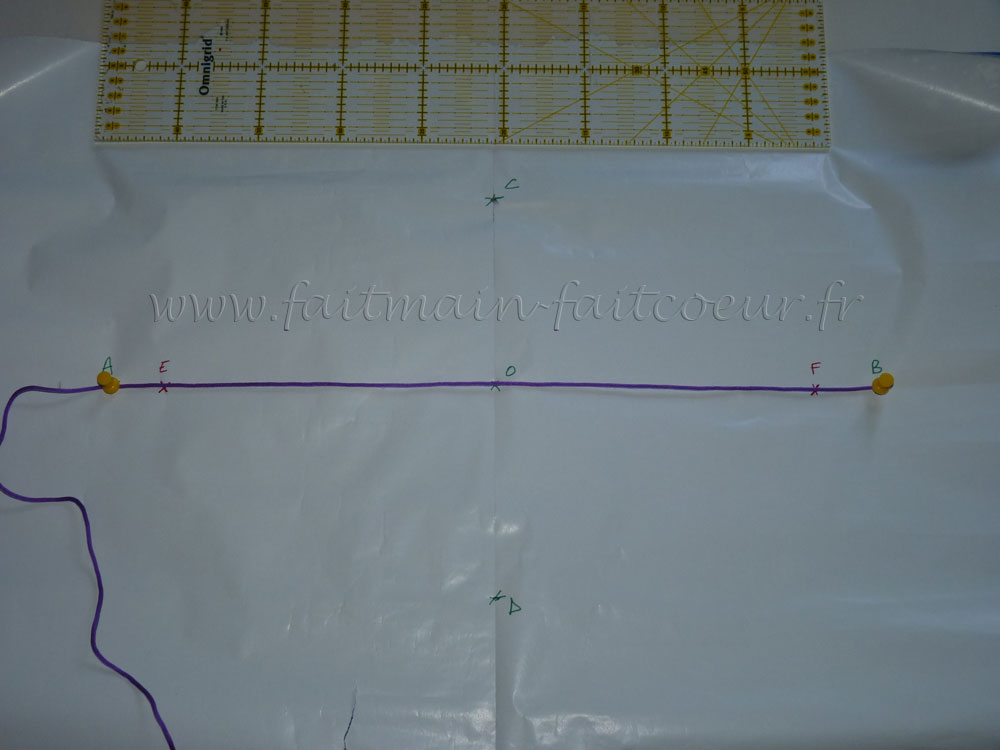
I want to achieve an ellipse 44 cm wide [AB] and 24 cm high [CD].
O is the center of this ellipse.

With the string, mark the [OB] segment length
(Or [OA], it’s the same).
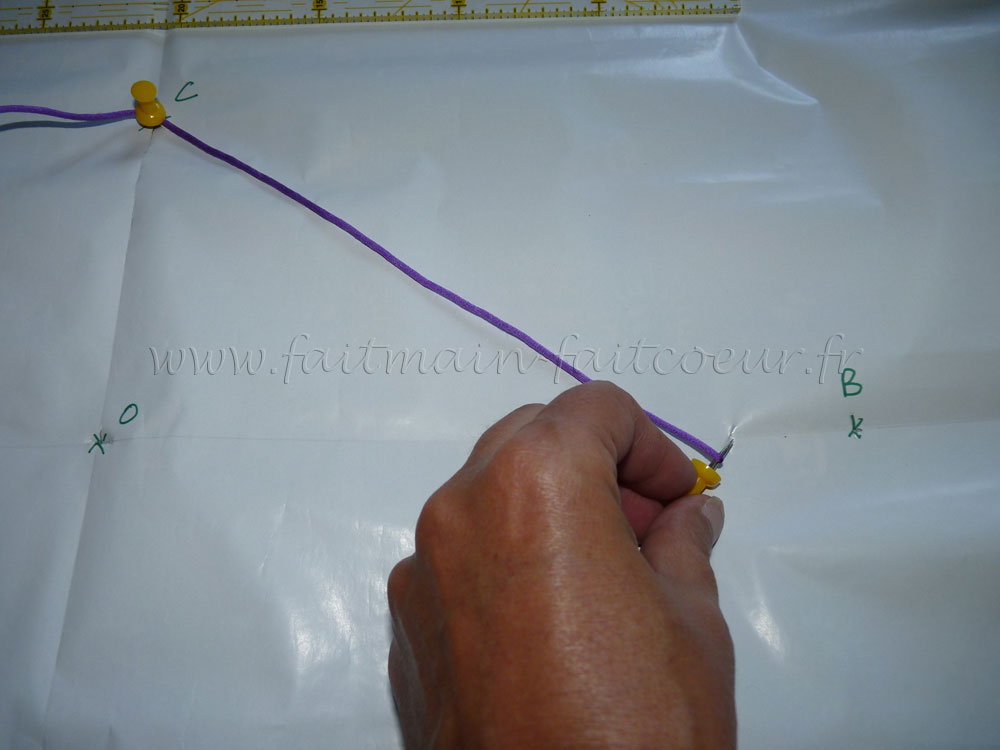
Move a pin on the point C (or point D) and pin the second one the [AO] segment to get the point E.
Without moving the C pin, rotate the second pin on the [OB] segment to get the point F.
Remove the pins from the string and mark the [AB] segment length.

Keeping this length, move the pins on the points E and F.
By dragging the pencil on the string you will be able to trace your ellipse, passing through A, B, C & D points.

As I was on a mattress my pins moved a little and some of my segments are not very accurate.
I kept the nice (AC) circle segment and folding my paper I replicated it on the other arc segments.

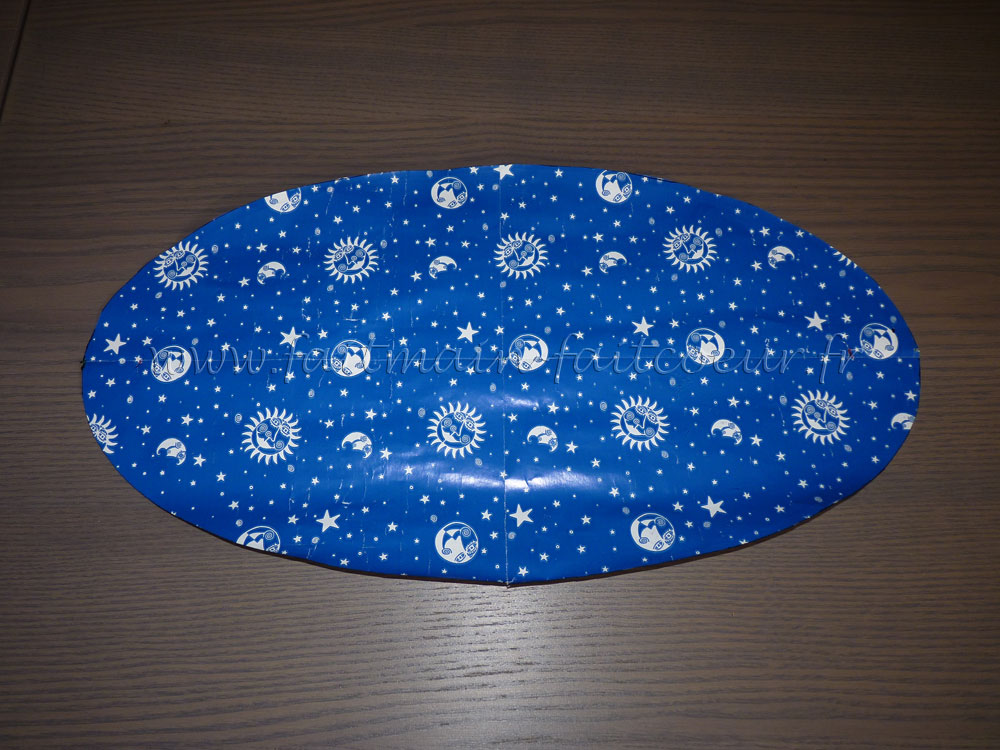
Et voilà, a definite and regular ellipse.
You will read more about the use of this ellipse in the upcoming post…