
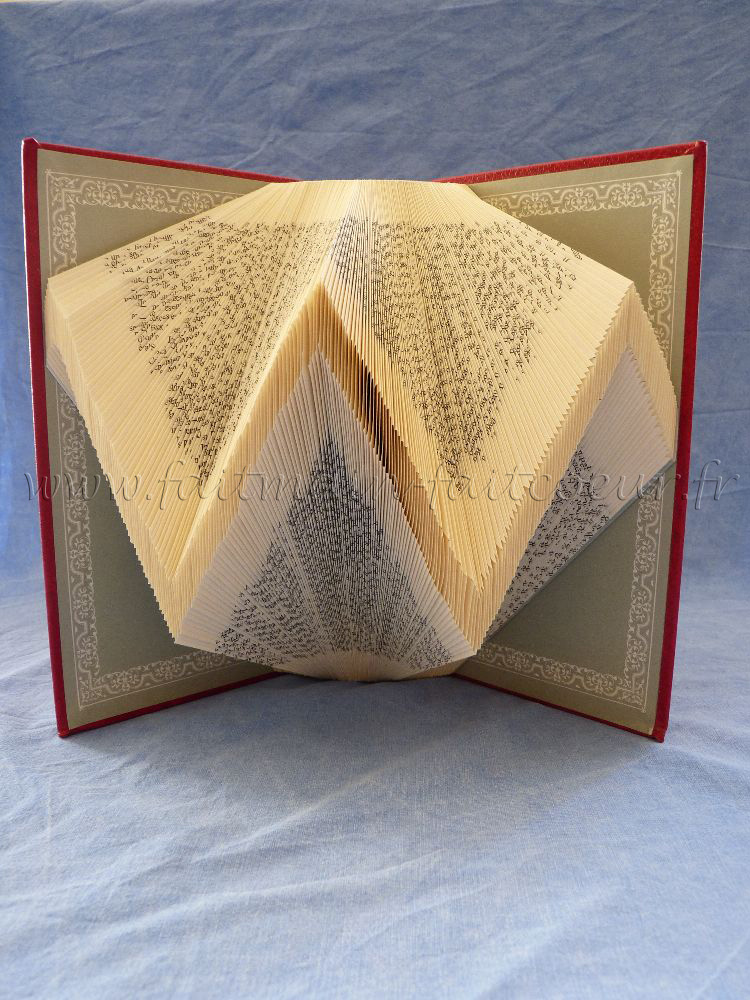
In order to make the “geometrical folded book n° 2” I shown you HERE, you need :
– an old book,
– a ruler,
– a pencil,
– a sheet of paper,
– a point,
– patience…


My book sheets are 13.5 cm x 21.5 cm.
Adapt all the following measures to the size of your book.
On a sheet of paper, I draw a mark 10 cm from the right margin.
Mark each sheet at the top and the bottom.
(I made a large mark to show you, but more it’s discreet better it is).

On another part of the sheet of paper, mark herringbones.
They are 2 cm height and there is 2 mm between each.
I recommend to you to use a different color for each herringblone (take a closer look at the picture).
I started the first one at 4.5 cm from the top of the book and the last one is 4.5 cm from the bottom.
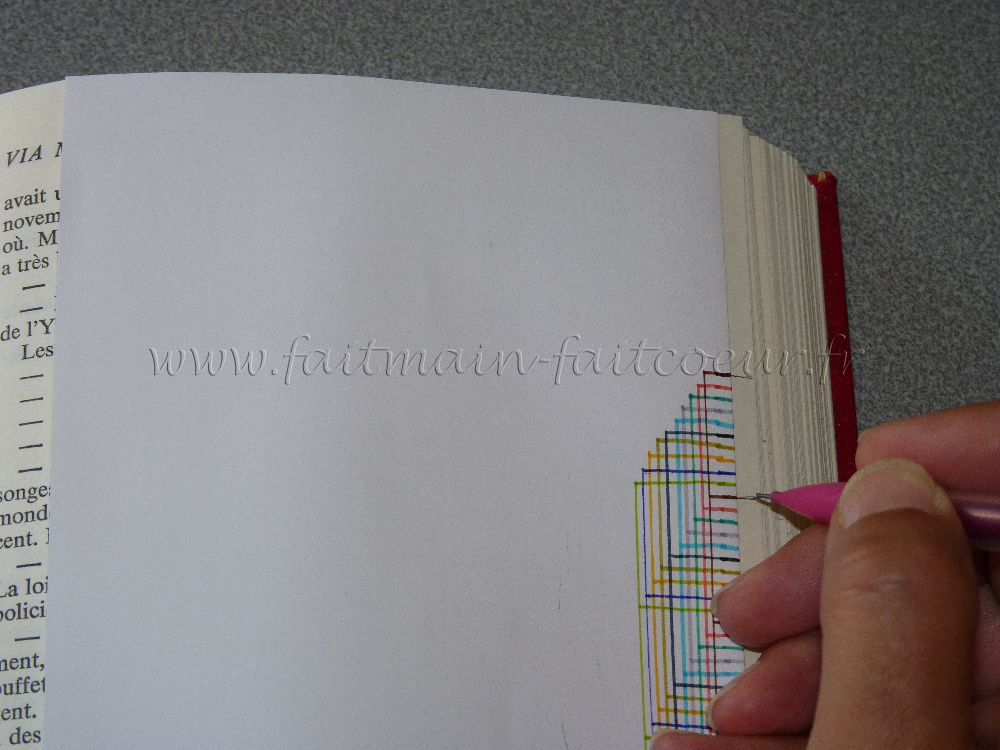
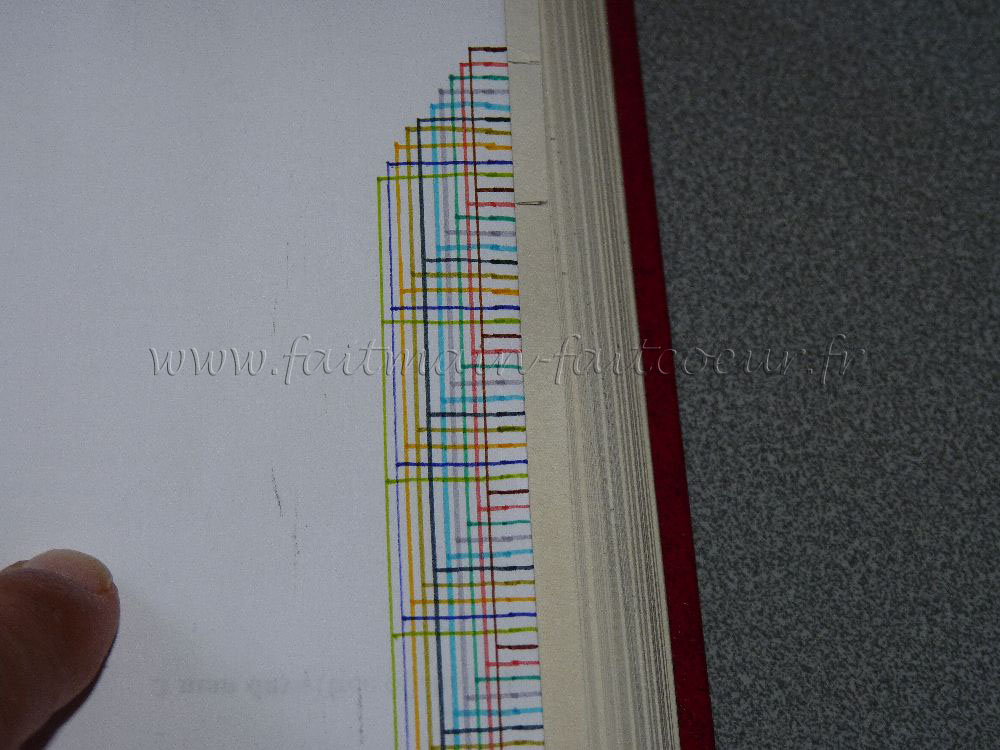
On the first book sheet mark the first herringbone (the brown one). On the second book sheet mark the second herringbone (the red one).
Keep going on (green, purple, clear blue, black… ) until the last herringbone
Then keep on marking by raising (black, clear blue, purple, green, red, brown….).

With a ruler and a point (mine is a winkle pin but you can also use an empty ballpoint pen) score the fold between the upper mark (10 cm) and the upper side mark.
Score also the fold between the lower mark (10 cm) and the lower side mark.


Now fold all sheets !
As folded sheets take up more space you can’t close anymore the book.
The sculpture effect is emphasized with an old book with yellowed sheets.


Thanks very much for the pattern.
Could you please send me the lovers and teddy pattern please. thank you
Please read the posts : there is no pattern for the lovers and the teddy one is downloadable on my online shop.
love the teddy bear would love for you to send me the free pattern to try to make for my grandchild x
You can download it on my online shop (for free!).
Hi! ? It´s sooo cute
Could you please send me the pattern on the teddybear
Thanks!